by Santhakumar Munuswamy
Posted on 14 June 2015
ASP.NET
This article explains the ASP.NET Web API and shows how to implement a sample employee application using Visual Studio 2013.
What is ASP.NET Web API?
ASP.NET Web API is a framework that makes it easy to build HTTP services that reach a broad range of clients, including browsers and mobile devices. ASP.NET Web API is an ideal platform for building RESTful application on the .NET Framework. (Reference from MSDN)
What is SOAP?
The Simple Object Access Protocol (SOAP) is a XML based communication protocol for exchanging information over HTTP. It is platform independent as well as language independent.
What is REST?
REST is a representable state transfer and it uses standard Hypertext Transfer Protocol (HTTP) actions for CRUD operations, like GET, POST, PUT and DELETE. It supports any text format including XML.
HTTP Methods
The following are the HTTP methods verbs:
- GET - Read (or) Retrieve
- POST - Create
- PUT - Update
- DELETE - Delete
|
S. No
|
Methods
|
Description
|
|
1
|
GET
|
Retrieves a representation of a resource.
|
|
2
|
POST
|
Creates a resource.
|
|
3
|
PUT
|
Updates a representation of the original resource
|
|
4
|
DELETE
|
Deletes a resource
|
RMM

Procedure
1. Open Visual Studio
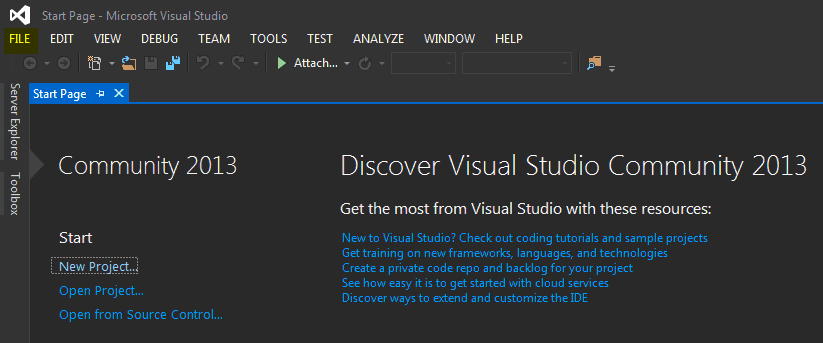
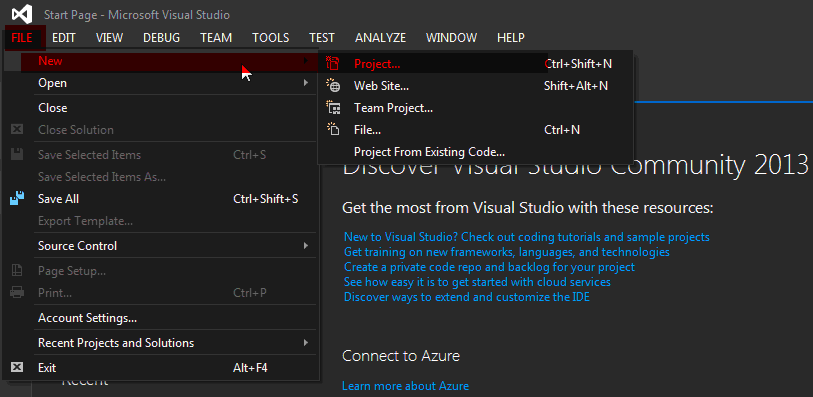
2. Go to File menu and select new , then Project click
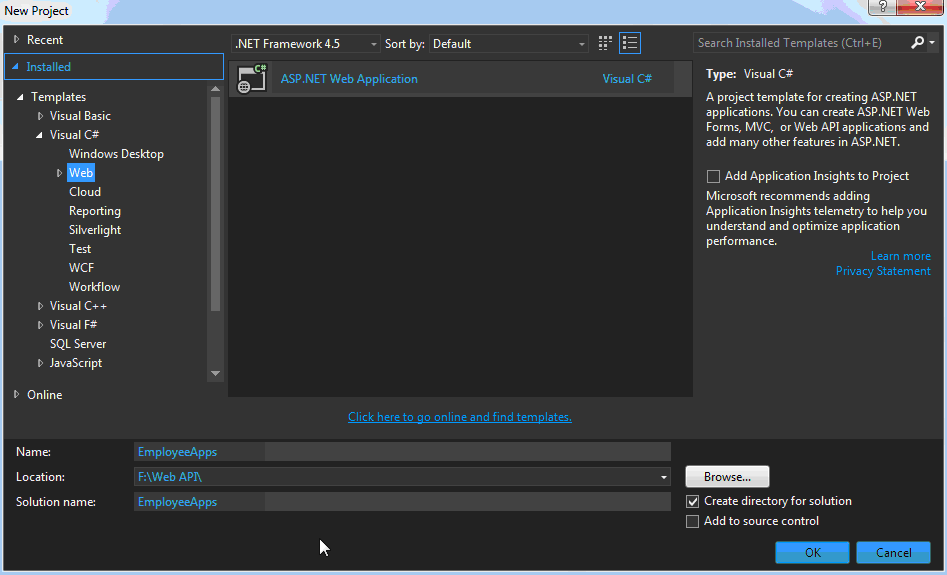
3. You can select an installed template under the Visual C# and select Web option. Then select ASP.NET Web Application. Then enter the application name, location then Click the OK button.
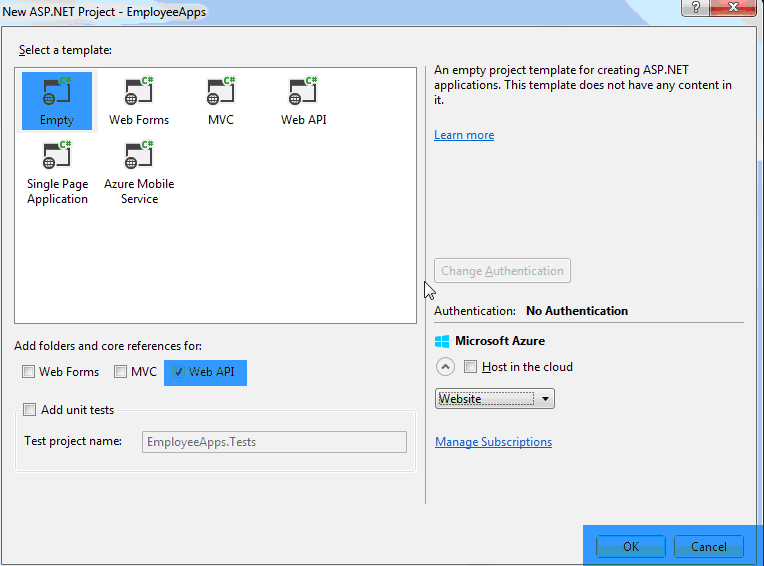
4. You can select Empty template and check the Web API checkbox. then Click the OK button.
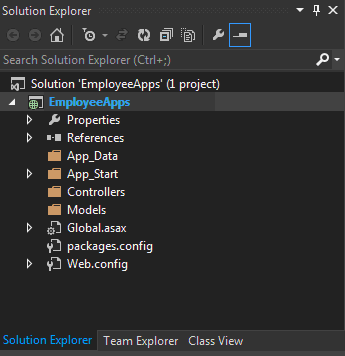
5. you can then see the solutions explorer as in the following.
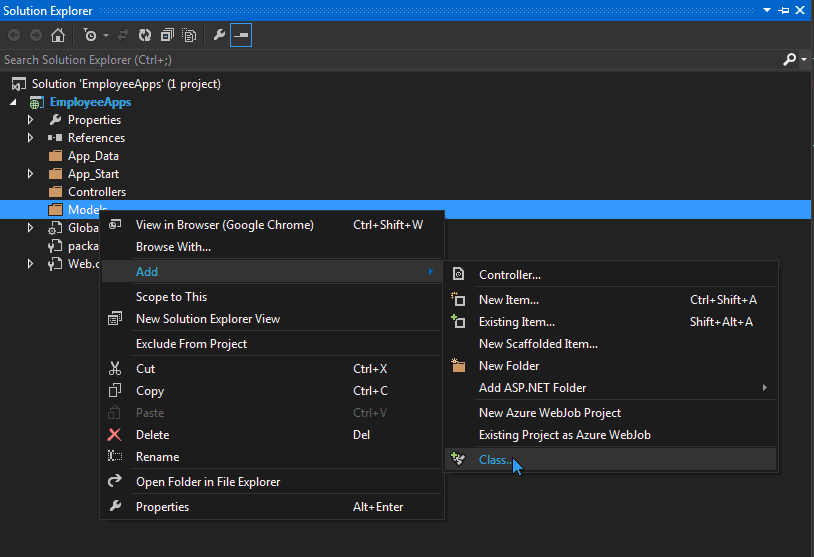
6. Go to the Solutions Explorer and right click the Models Folder then select Add into adding model in your project.
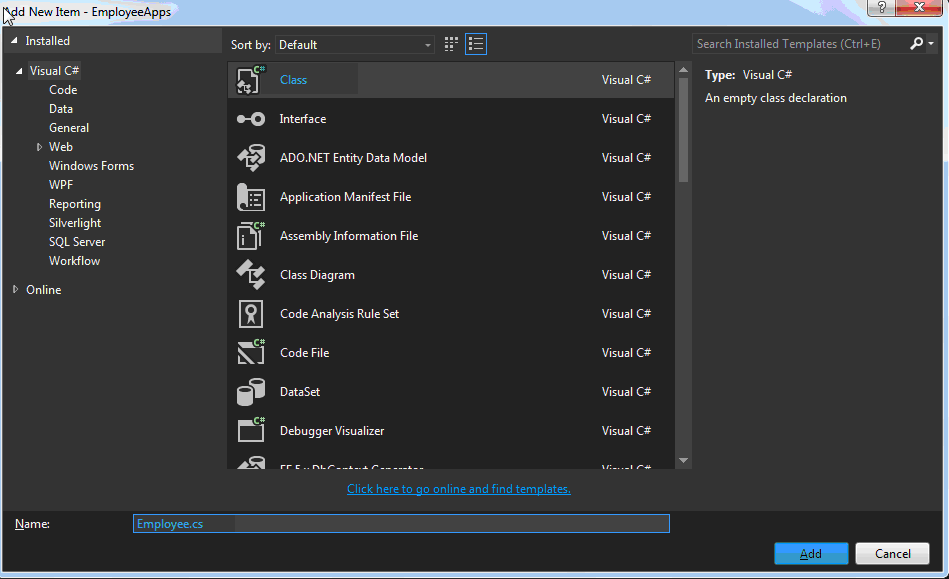
7. Now, you can select class and enter the name of the class “Employee” then Click the Add button.
Adding Model
using System;
using System.Collections.Generic;
using System.Linq;
using System.Web;

namespace EmployeeApps.Models
{
    public class Employee
    {
        public int EmployeeId { get; set; }
        public string EmployeeName { get; set; }
        public string EmployeeDepartment { get; set; }
        public decimal EmployeeSalary { get; set; }
        public string EmployeeLocation { get; set; }
    }
}
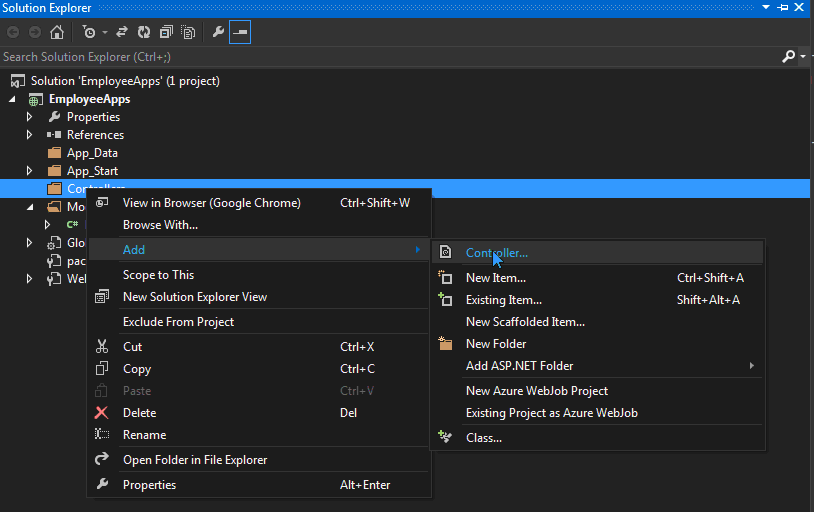
8. Go to the Solutions Explorer and right click the Controller Folder then select Add into adding Controller in your project.
9. Now, you can select Web API2 Controller – Empty and Click the Add button.

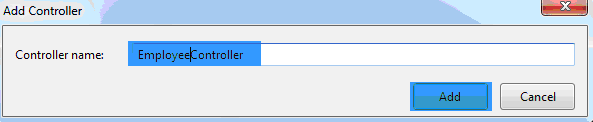
10. you can enter the controller name “EmployeeController” and Click the Add button.
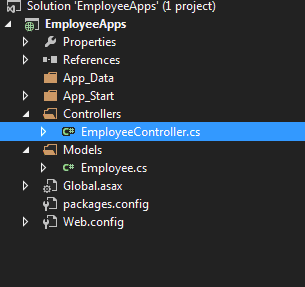
11. you can then see the solutions explorer as in the following.
Adding Controller
using System;
using System.Collections.Generic;
using System.Linq;
using System.Net;
using System.Net.Http;
using System.Web.Http;
using EmployeeApps.Models;

namespace EmployeeApps.Controllers
{
    public class EmployeeController : ApiController
    {
        Employee[] employee = new Employee[]
        {
            new Employee{ EmployeeId=100, EmployeeName="Santhakumar", EmployeeDepartment="DOTNET", EmployeeSalary=10000.00m, EmployeeLocation="Chennai"},
            new Employee{ EmployeeId=101, EmployeeName="Moorty", EmployeeDepartment="DOTNET", EmployeeSalary=30000.00m, EmployeeLocation="Chennai"},
            new Employee{ EmployeeId=102, EmployeeName="Rajkumar", EmployeeDepartment="DOTNET", EmployeeSalary=10000.00m, EmployeeLocation="Chennai"},
            new Employee{ EmployeeId=103, EmployeeName="Saktikumar", EmployeeDepartment="DOTNET", EmployeeSalary=50000.00m, EmployeeLocation="Chennai"},
            new Employee{ EmployeeId=104, EmployeeName="Sathikumar", EmployeeDepartment="DOTNET", EmployeeSalary=10000.00m, EmployeeLocation="Chennai"},
            new Employee{ EmployeeId=105, EmployeeName="Praveen", EmployeeDepartment="DOTNET", EmployeeSalary=20000.00m, EmployeeLocation="Chennai"},

        };

        public IEnumerable<Employee> GetAllEmployeeDetails()
        {
            return employee;
        }

    }
}
WebApiConfig
 public static void Register(HttpConfiguration config)
        {
            // Web API configuration and services

            // Web API routes
            config.MapHttpAttributeRoutes();

            config.Routes.MapHttpRoute(
                name: "DefaultApi",
                routeTemplate: "api/{controller}/{id}",
                defaults: new { id = RouteParameter.Optional }
            );
        }
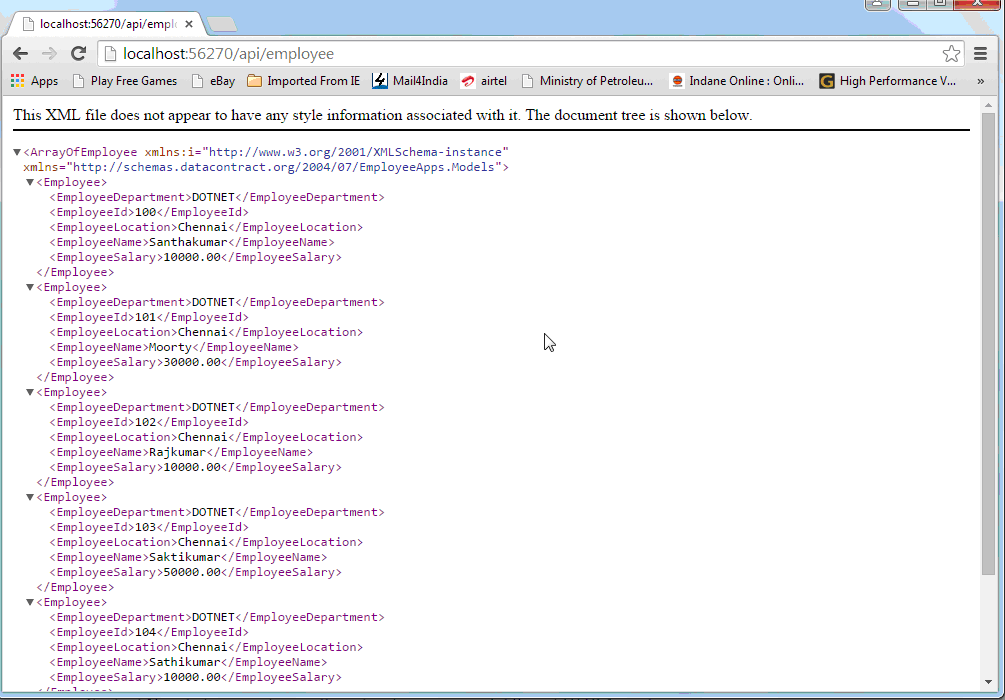
Output
Conclusion
This article helps you to understand the ASP.NET Web API and its implementation in Visual Studio 2013. Thank you for reading my articles. Please kindly share your valuable comments and suggestion with me..